Soon we'll all be celebrating Thanksgiving Day in the United States. Our family will risk the addition of a ham to the feast, but that was just once, not that it wasn't good, but we all love our turkey. It's a big Turkey meal with mashed potatoes and gravy plus some veggies and of course crescent rolls, which are not to be confused with French croissants. My boys do not like cranberries, most pies, cakes, or stuffing - ME, I LOVE IT ALL. I don't know what I did wrong, but there you have it. I'll be enjoying a good Thanksgiving and hope you do too.
I made several cards and I hope you enjoy them and how I put them together. Have a Happy Thanksgiving to you and yours.
A Thank you card for Thanksgiving and it's all one layer. I used the masking technique to build this card plus a Hero Arts bottle die.
See tutorial below.
FIRST ONE LAYER CARD

a2z Scrapbooking Hero Arts "Thankful for You" and die and die cut jar.
SECOND ONE LAYER CARD
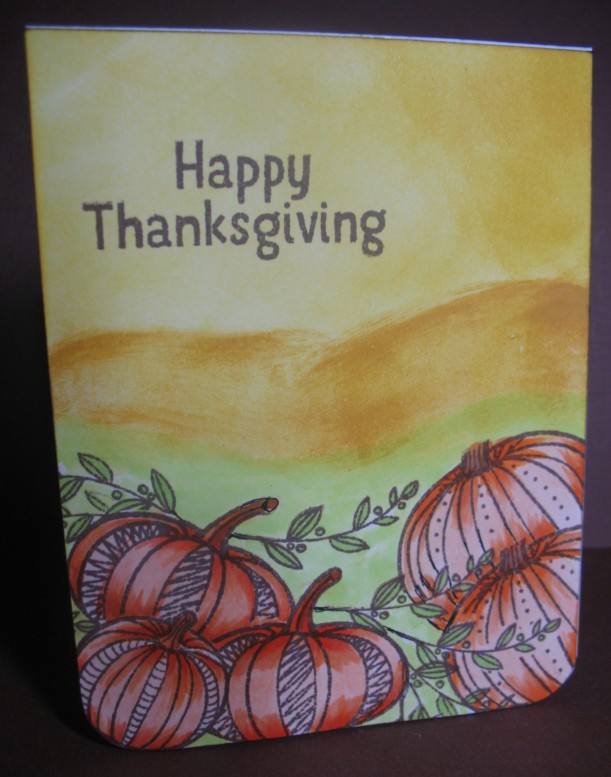
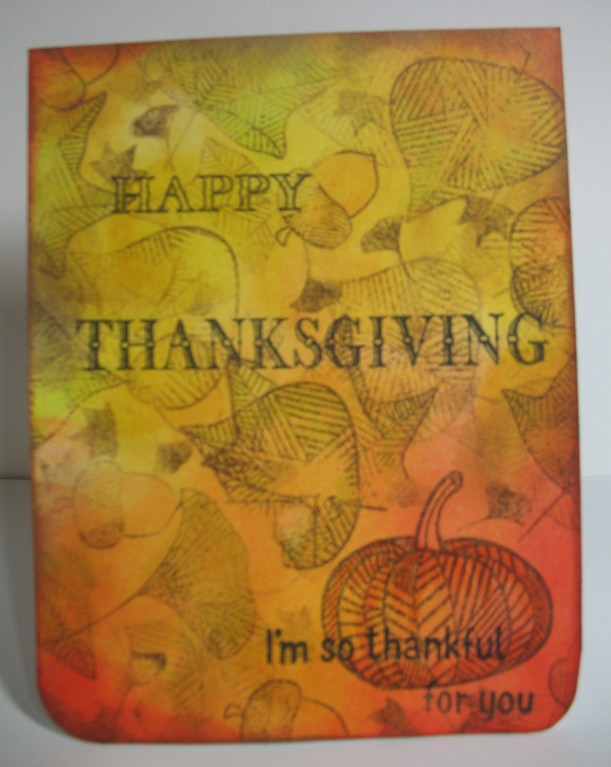
I used the same masking technique I used on the first card above to stamp the pumpkins and leaves. The background from the green up is done in Distress inks, Fosslilzed Amber and then Mustard Seed and and Spiced Marmalade upper right. The sentiment is stamped in Memento Rich Cocoa.
a2z Scrapbooking Hero Arts "Thankful for You" and "Autumn"
This photo is for the comparison of card sizes. Funny, is it not?

Tutorial on the "Jar" card follows:
- Die Cut the jar
- Use the bottle top of the die to create the label. Place the "THANK YOU" or your choice of stamp to judge width & length of label. Then die cut the bottom of the label. I will have to shave some of the sides to fit the label inside the jar.
- Use the die-cut label you just made to trace your label onto the jar.
- The jar top is drawn by using the bottom of the die itself. Die cut a piece of paper using the bottom of the die so you can use the shape to draw the jar top. It really was perfect, however, you can see my drawing skills are not.
- You now have the jar top and label drawn on the jar.
- Choose your stamps to decorate the inside of the jar. I chose the Hero Arts "Thankful for You"
- To do a bit of masking, you have to think ahead and plan your design. What do you want to see first? Since there are matching dies with these, I just cut copy paper and started layering to see what I wanted to go where. I also used the "THANK YOU" label I had cut first.
- Here's the order I stamped each item. Stamp the leaf down the center first.
- Tape your paper masks to avoid stamping over your previously stamped images. I used Washi tape to hold down the masks. Stamp the two pumpkins (I stamped the left first). Stamp all the leaves wherever you think they should go.
- If you want to stamp leaves over the "label", make sure you mask around the "label"
An additional card, background made with "Autumn" clear stamps and lots of Distress inking.
Hope you’ll join in our November
Challenge and make a "One Layer" card with your Hero Arts stamps, dies and stencils. And, if you need some new supplies, don’t forget to shop at
a2z Scrapbooking.. Don’t forget that we are on
Twitter,
Instagram and
Facebook. Follow us on these different social media outlets so you won’t miss out on any fun promotions!
You can use code
Arlene15 at checkout to receive 15% off your purchase of $25 or more (before tax and shipping). Don’t forget that we are on
Twitter,
Instagram and
Facebook. Follow us on these different social media outlets so you won’t miss out on any fun promotions!
